

How it works
Console runs a Dex identity broker next to it and wires itself to Dex. The design avoids the usual SSO operational burden:- No separate Dex endpoint. Console reverse-proxies Dex under its own
/dexpath, so whatever exposes Console also serves Dex. You publish only the Console port — no separate Dex Service, Ingress path, or published port. - No operator-managed client secret. Console self-registers its OIDC client with Dex at boot and generates the client secret itself.
- No certificate wrangling for users. Console reaches Dex’s gRPC admin port over the loopback (Docker network or pod loopback), secured by a self-signed certificate you generate once (Docker) or that an init container mints per pod (Kubernetes).
- No forwarded-header configuration. Console derives both the OAuth redirect URI and the SSO state cookie’s
Secureflag from the configured issuer URL, so SSO works correctly behind a TLS-terminating proxy without trustingX-Forwarded-*headers.
Requirements
- A signed RisingWave license key. Console v0.7.x performs startup license verification and exits without
RW_LICENSE_KEY/RW_LICENSE_KEY_PATH. See Manage license keys. - A stable host for the issuer. Set the Dex issuer to
<scheme>://<host>/dex, where<host>is exactly the host (and port) browsers use to reach Console. Because Console serves Dex under its own/dexpath, the issuer host must equal the Console host. Use HTTPS in production; the cookieSecureflag follows the issuer scheme. - A single Console instance. The self-register flow resets the OIDC client secret on every boot, so run exactly one replica. The Kubernetes manifest pins
replicas: 1; the Docker Compose setup is single-instance by nature.
Choose a deployment method
Both methods use the same self-register +
/dex-proxy design, so the Console configuration is identical; only the packaging differs.
Deploy with Docker Compose
This brings up Console (with bundled PostgreSQL) and a Dex container on one host. Only the Console port is published; Dex stays on the internal Compose network and is reached through Console’s/dex proxy.
You need Docker with Compose v2, OpenSSL, and a signed RisingWave license token.
1. Create a working directory
2. Save your license token
3. Generate a certificate for Dex’s gRPC admin port
Console talks to Dex’s admin port over TLS. Generate a self-signed certificate whose subject alternative name isdex (the Compose service name Console connects to):
4. Create dex-config.yaml
dex-config.yaml
5. Create docker-compose.yaml
docker-compose.yaml
6. Set the issuer host and password
The files above are ready to run for local evaluation athttp://localhost:8020. Before exposing Console to other machines:
- Replace
localhost:8020with the host and port browsers will use, in both theissuer:index-config.yamlandRCONSOLE_SSO_DEX_ISSUERURLindocker-compose.yaml(they must be byte-identical). For production, front Console with a TLS proxy and use anhttps://issuer. - Set a strong
RCONSOLE_ROOT_PASSWORD.
7. Start the stack
dex-init service chowns the Dex data volume so the non-root Dex can write its SQLite store (the Compose equivalent of Kubernetes fsGroup). Console waits for Dex to become healthy (depends_on), so it self-registers its OIDC client cleanly on the first boot.
8. Verify
http://localhost:8020 and sign in as root with the password from RCONSOLE_ROOT_PASSWORD (it defaults to root only if you leave that variable unset).
Deploy on Kubernetes
On Kubernetes, Dex runs as a sidecar container in the Console pod. The manifest below is the bundled-PostgreSQL (“pgbundle”) variant — convenient for testing, but its PostgreSQL metadata is not durable across pod rescheduling. For production, use an external PostgreSQL deployment and add the same Dex sidecar; see Install RisingWave Console for the external-PostgreSQL base.Dex’s own state (signing keys, registered connectors) is stored in SQLite on
the pod’s PVC and survives restarts. With the bundled-PostgreSQL image, the
Console metadata is not on the PVC, so use external PostgreSQL for production.
1. Save the manifest
Save the following asrisingwave-console-sso.yaml. It creates the namespace, service account, RBAC, license Secret, Dex ConfigMap, a NodePort Service, and a single-replica StatefulSet whose pod runs the Console container, the Dex sidecar, and an init container that mints the per-pod gRPC certificate.
risingwave-console-sso.yaml
risingwave-console-sso.yaml
risingwave-console-sso.yaml
2. Edit before applying
- License: replace
license.jwt: <your-signed-license-token>in therisingwave-console-licenseSecret. - Issuer host: replace
console.example.comwith your Console’s external host in both places (they must be byte-identical):issuer:in therisingwave-console-dexConfigMapRCONSOLE_SSO_DEX_ISSUERURLin the StatefulSet
- Root password (optional): the default login is
root/root. To change it, add aRCONSOLE_ROOT_PASSWORDenv var to theconsolecontainer.
3. Expose Console over HTTPS
The manifest exposes Console on NodePort30020. Add an Ingress (or other TLS-terminating front end) that serves Console at your issuer host over HTTPS. No forwarded-header trust configuration is needed.
4. Apply and verify
SSO configuration reference
Both deployment methods set theRCONSOLE_SSO_DEX_* variables for you. You normally edit only the issuer host. The full set is documented here for custom deployments.
Register a connector
After Console is running, sign in asroot and add a connector for your IdP. Connectors are pushed to Dex immediately; no restart is needed.
-
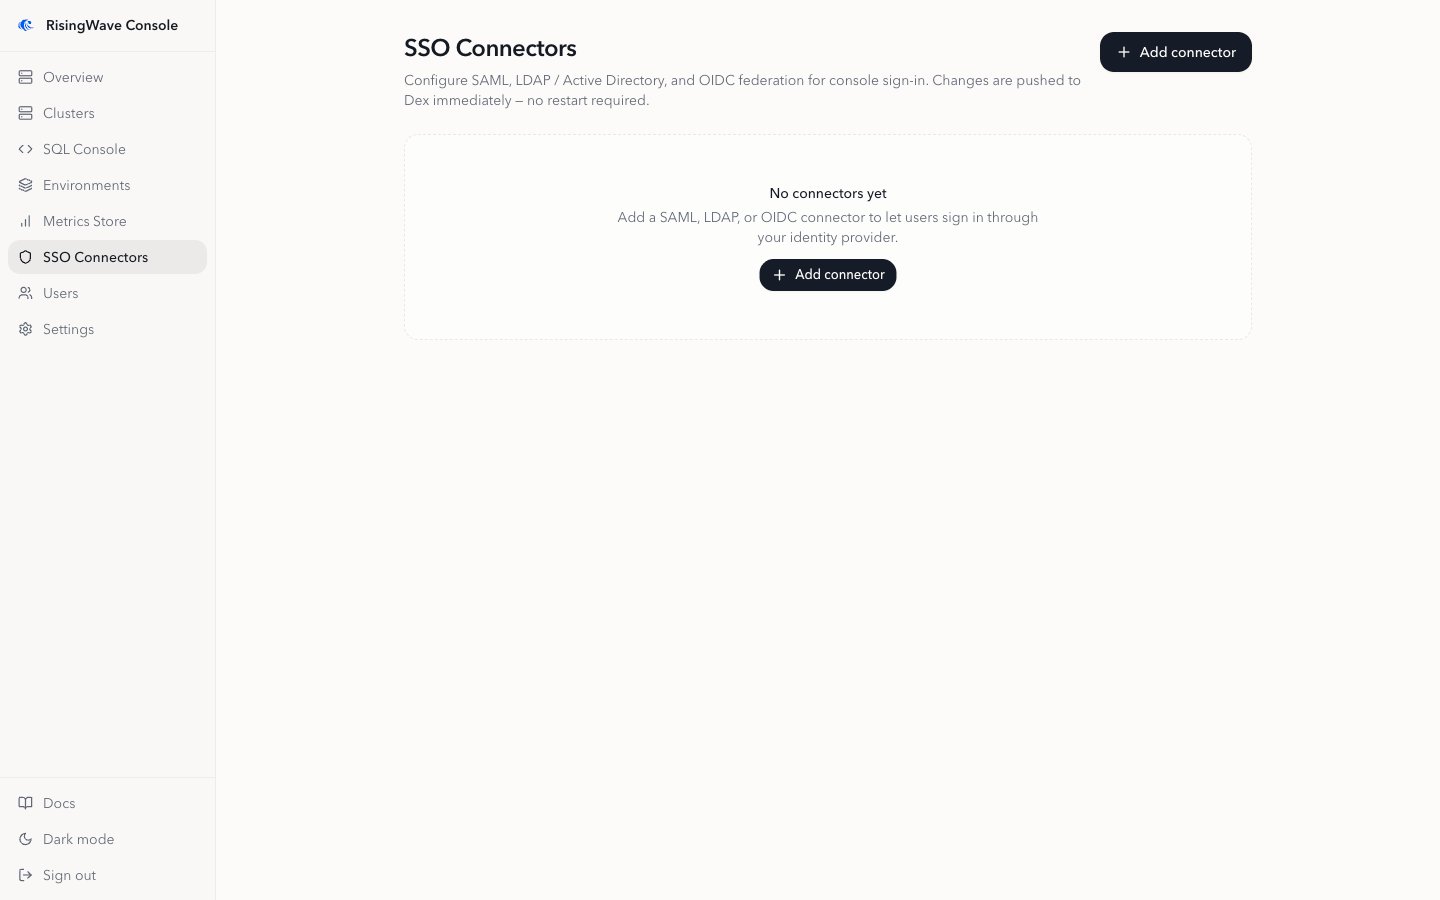
In the sidebar, open SSO Connectors.
Before you add anything, the page shows an empty state.
-
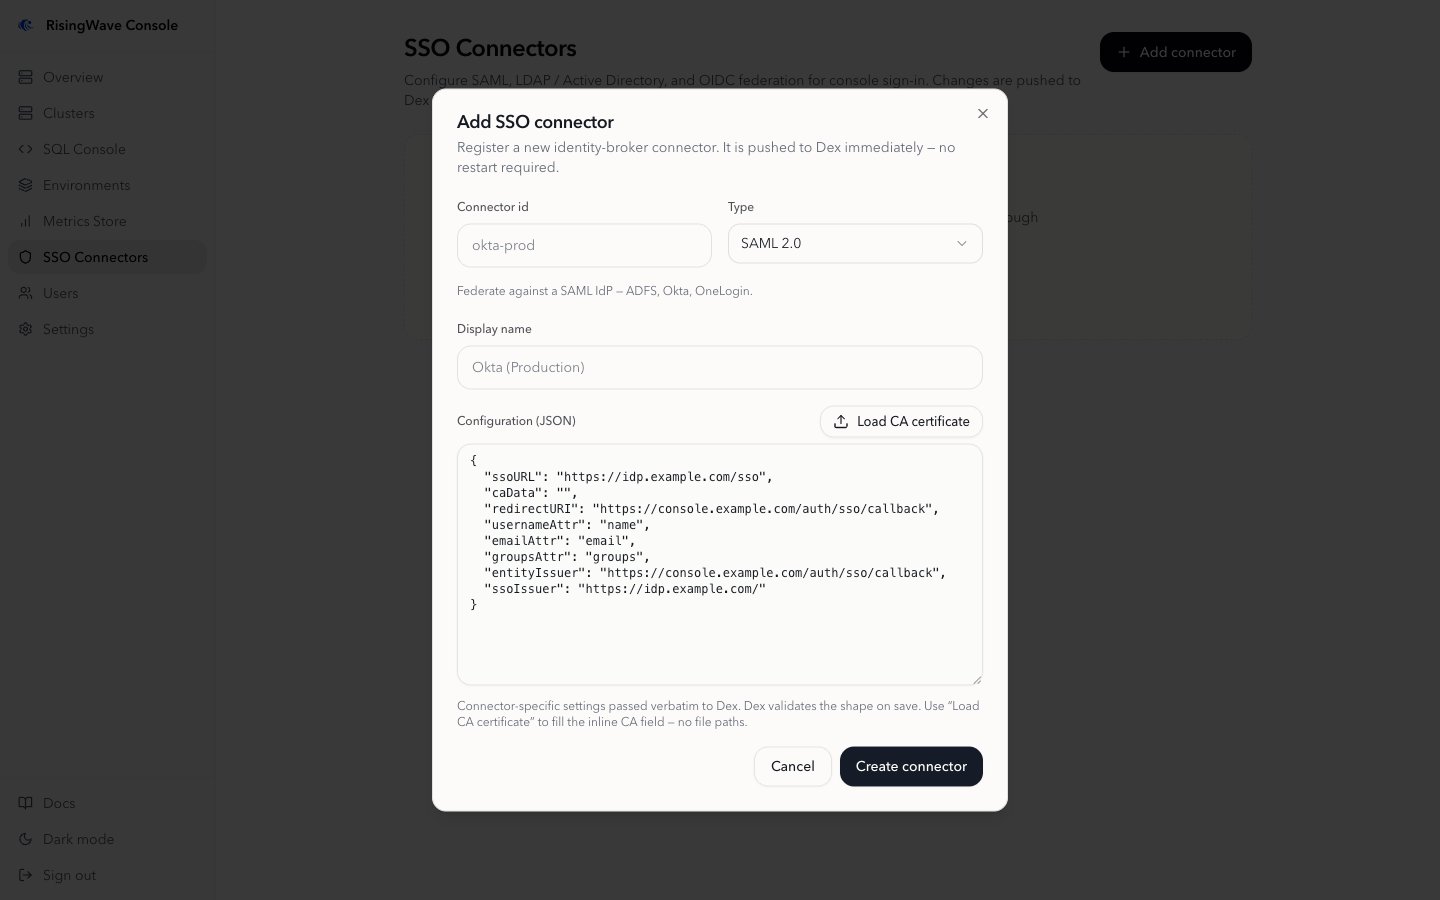
Click Add connector and fill in the form:
- Connector id: a stable identifier, for example
okta-prod. This is used internally and cannot be changed later. - Type: SAML 2.0, LDAP / Active Directory, or OIDC.
- Display name: the label shown on the sign-in button, for example
Okta (Production). - Configuration (JSON): connector-specific settings passed to Dex. Selecting a type pre-fills a template with the keys that connector expects; fill in the values.
- Connector id: a stable identifier, for example
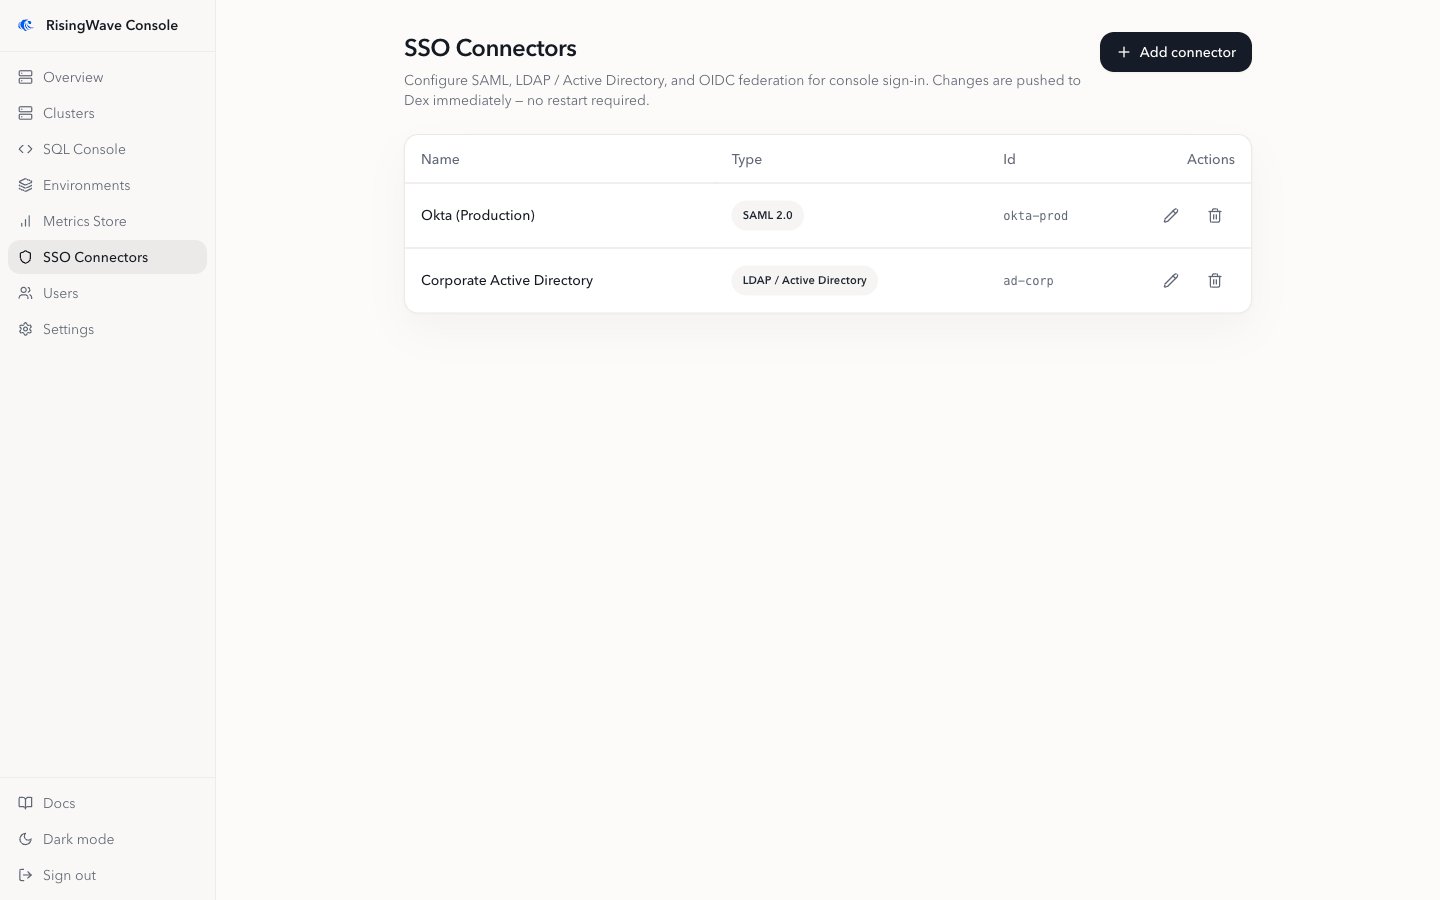
- Click Create connector.
Connector configuration
The configuration field holds connector-specific JSON that Dex validates on save. Selecting a type pre-fills the keys that connector expects. For connectors that verify an IdP or directory server certificate, use the Load CA certificate button to fill the inline CA field from a PEM file. Console uses Dex’s inline CA form (caData for SAML, rootCAData for LDAP) rather than a filesystem path, because a path would point inside the Dex container.
- SAML 2.0
- LDAP / Active Directory
- OIDC
caData with the base64-encoded PEM of the IdP’s signing CA. SAML requires it unless signature validation is disabled (dev and test only).Sign in with SSO
Once SSO is enabled — Console is deployed alongside Dex, Dex is reachable, and Console has registered its OIDC client — the login page shows a Sign in with SSO button alongside the local username and password fields. Users click it to authenticate through your IdP. Register at least one IdP connector before pointing users at SSO, so the button leads to a real identity provider rather than only Dex’s built-in local login.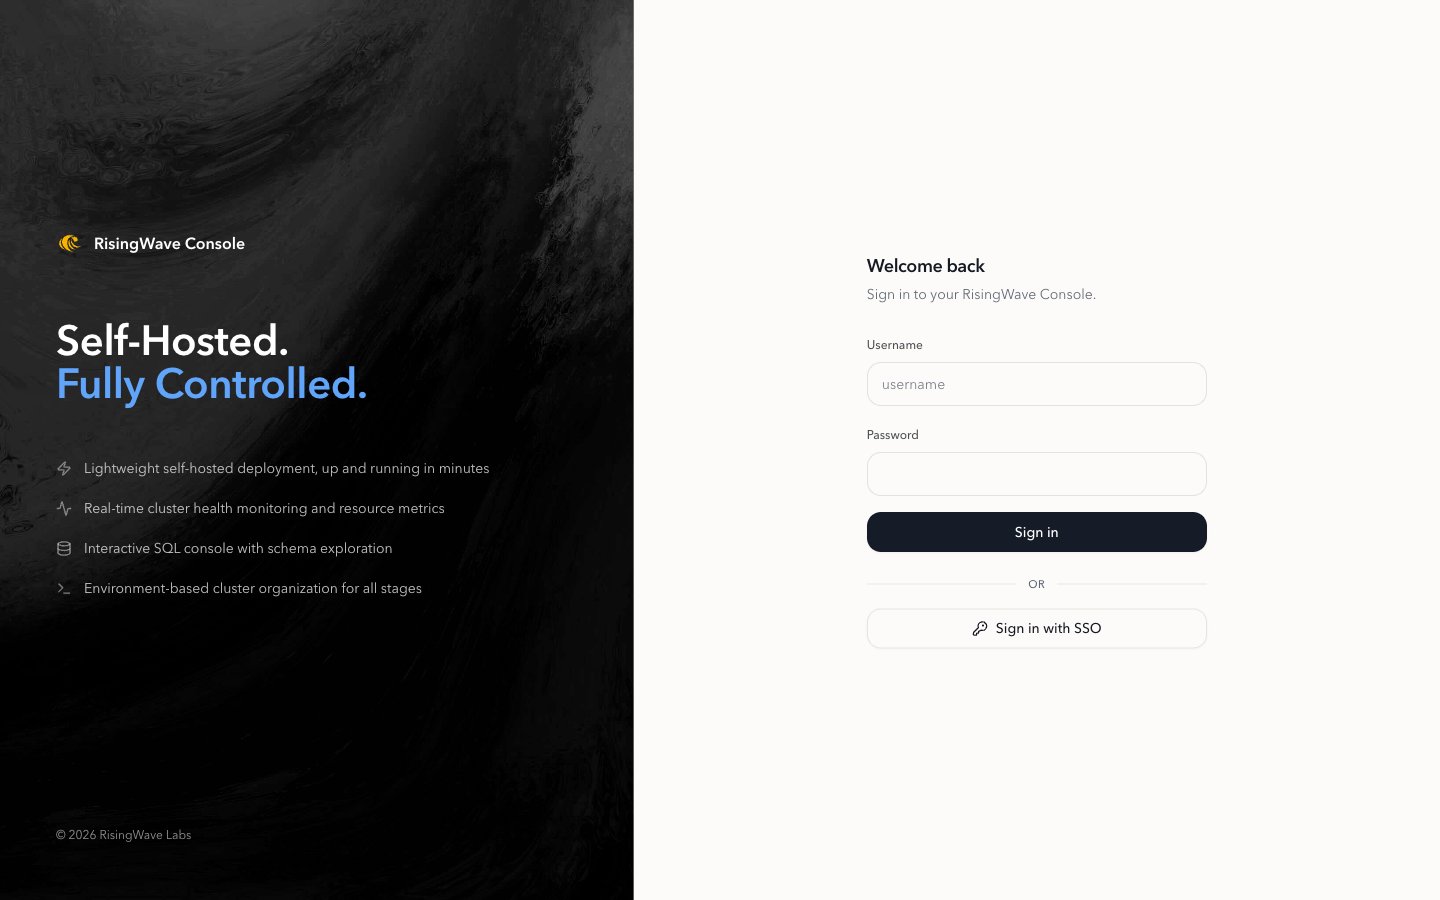
root account and any local users you create continue to work, so you retain an administrative path even if the IdP is unavailable.