Set Up the EMQX broker
This guide will walk you through creating an EMQX broker on EMQX Cloud and connecting it to RisingWave for data ingestion. For detailed information, please refer to the EMQX Documentation.1. Sign up for an EMQX platform account
Start by signing up for an EMQX Cloud account. The platform offers a 14-day free trial to explore its services.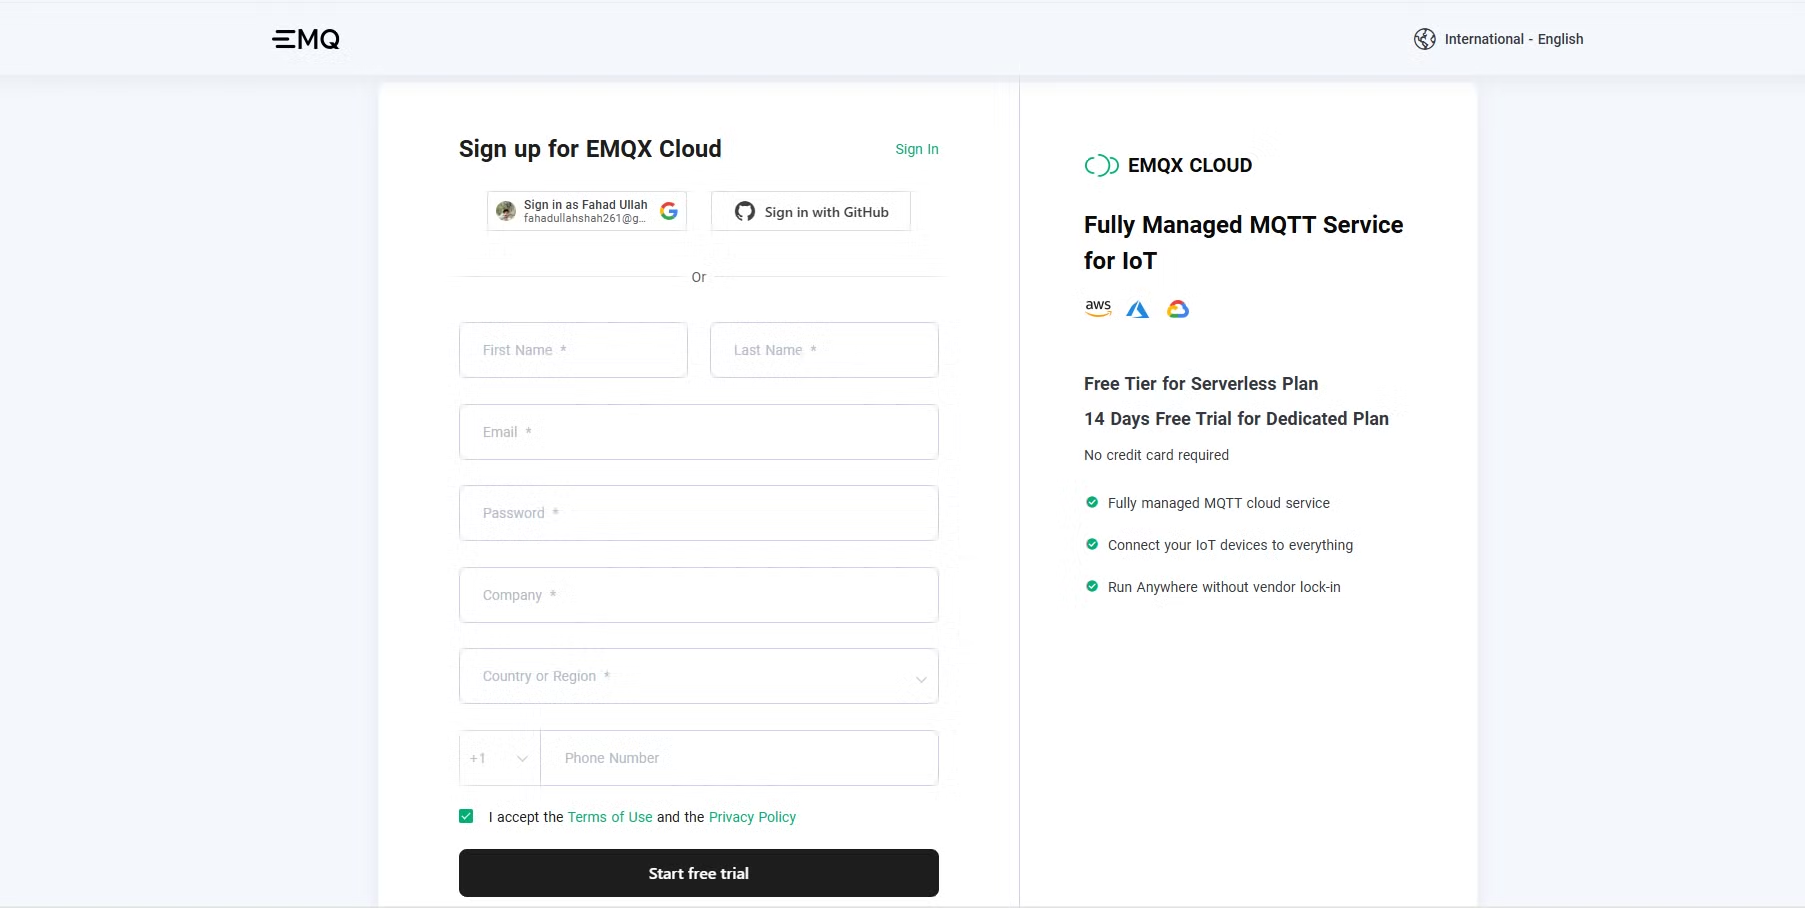
2. Create a new deployment
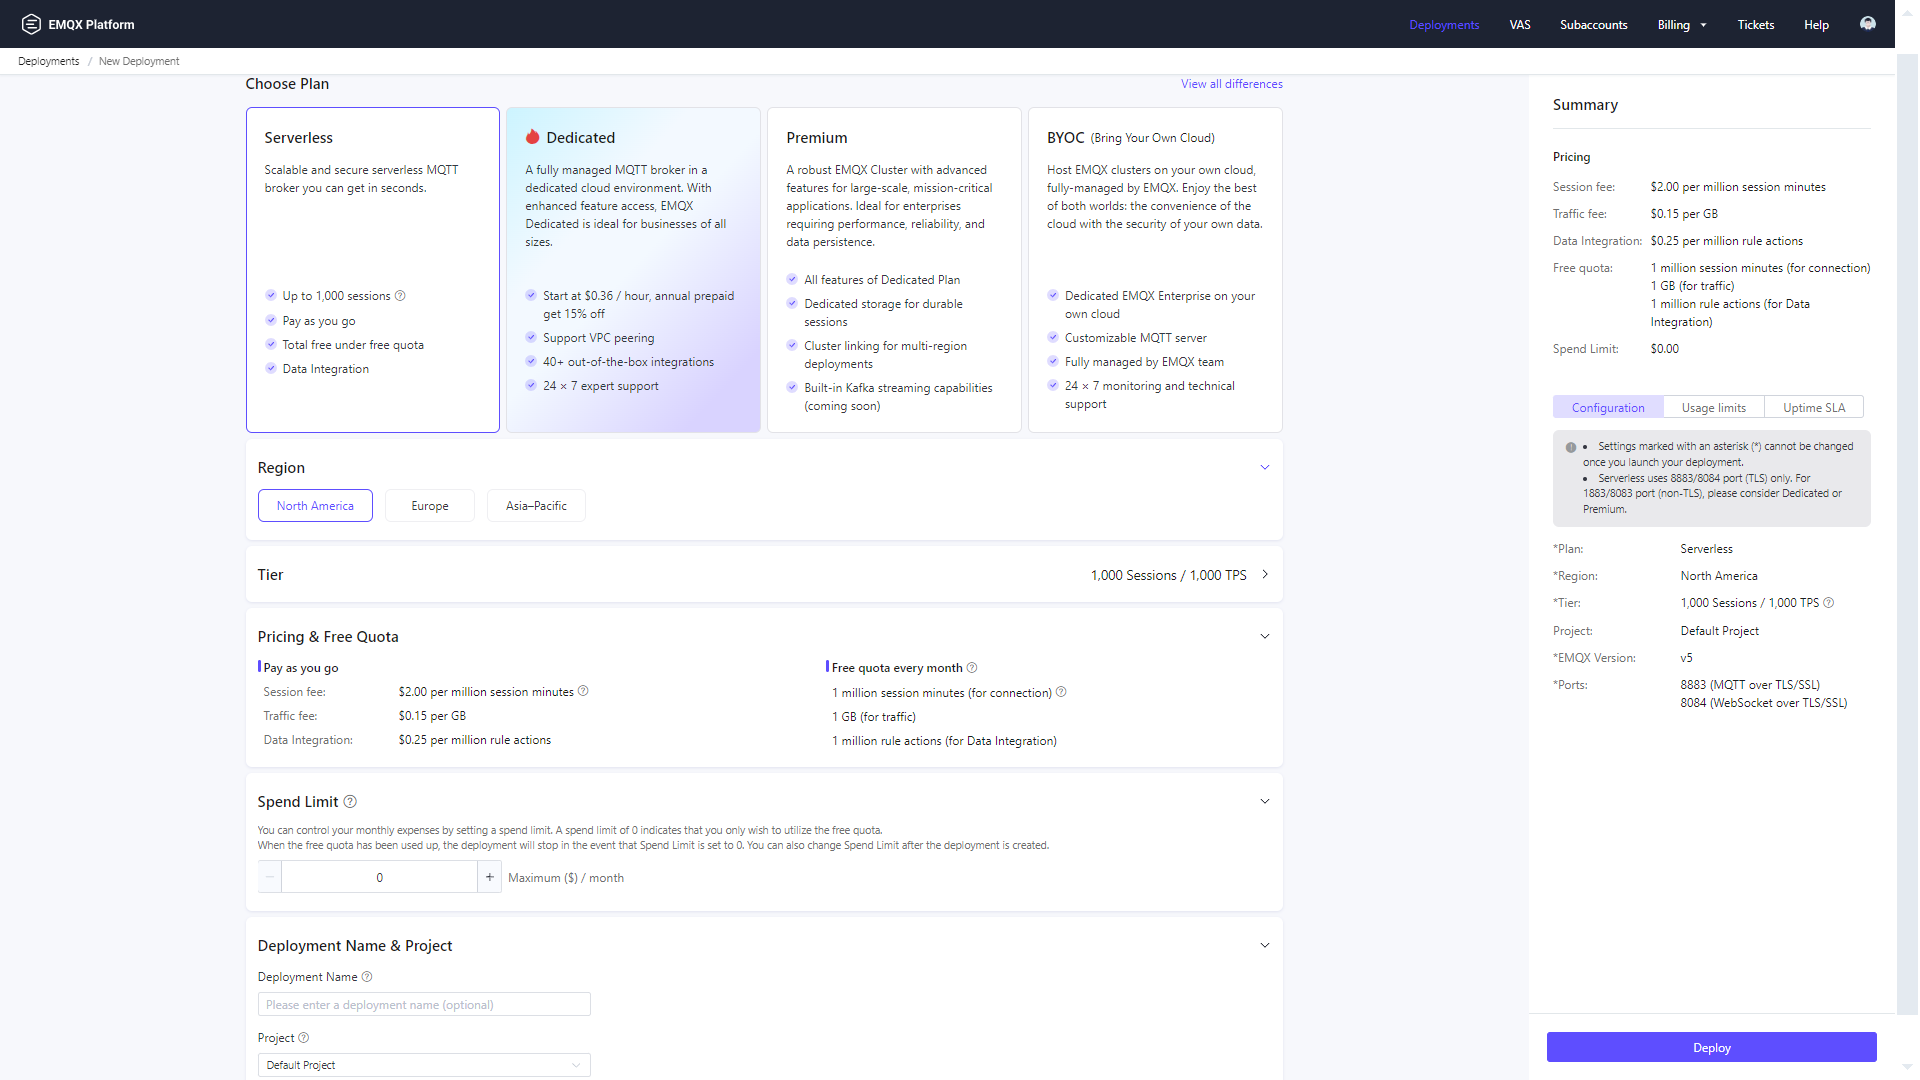
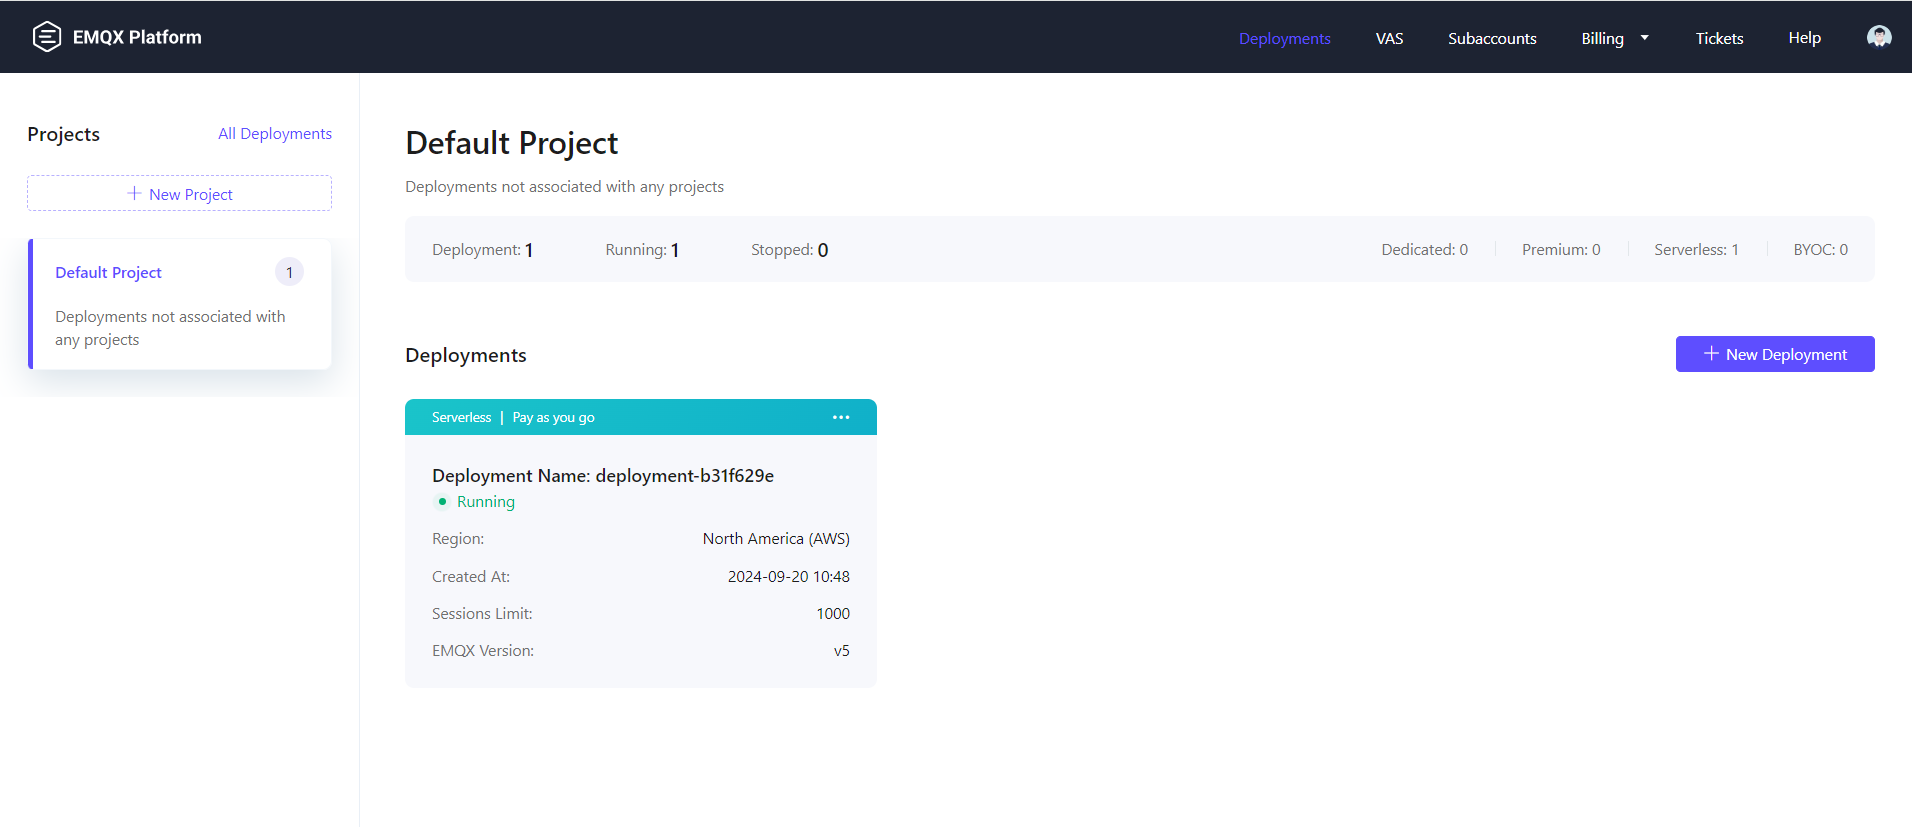
Once logged in to your EMQX Cloud account, go to the dashboard and click New Deployment to create a new EMQX broker.
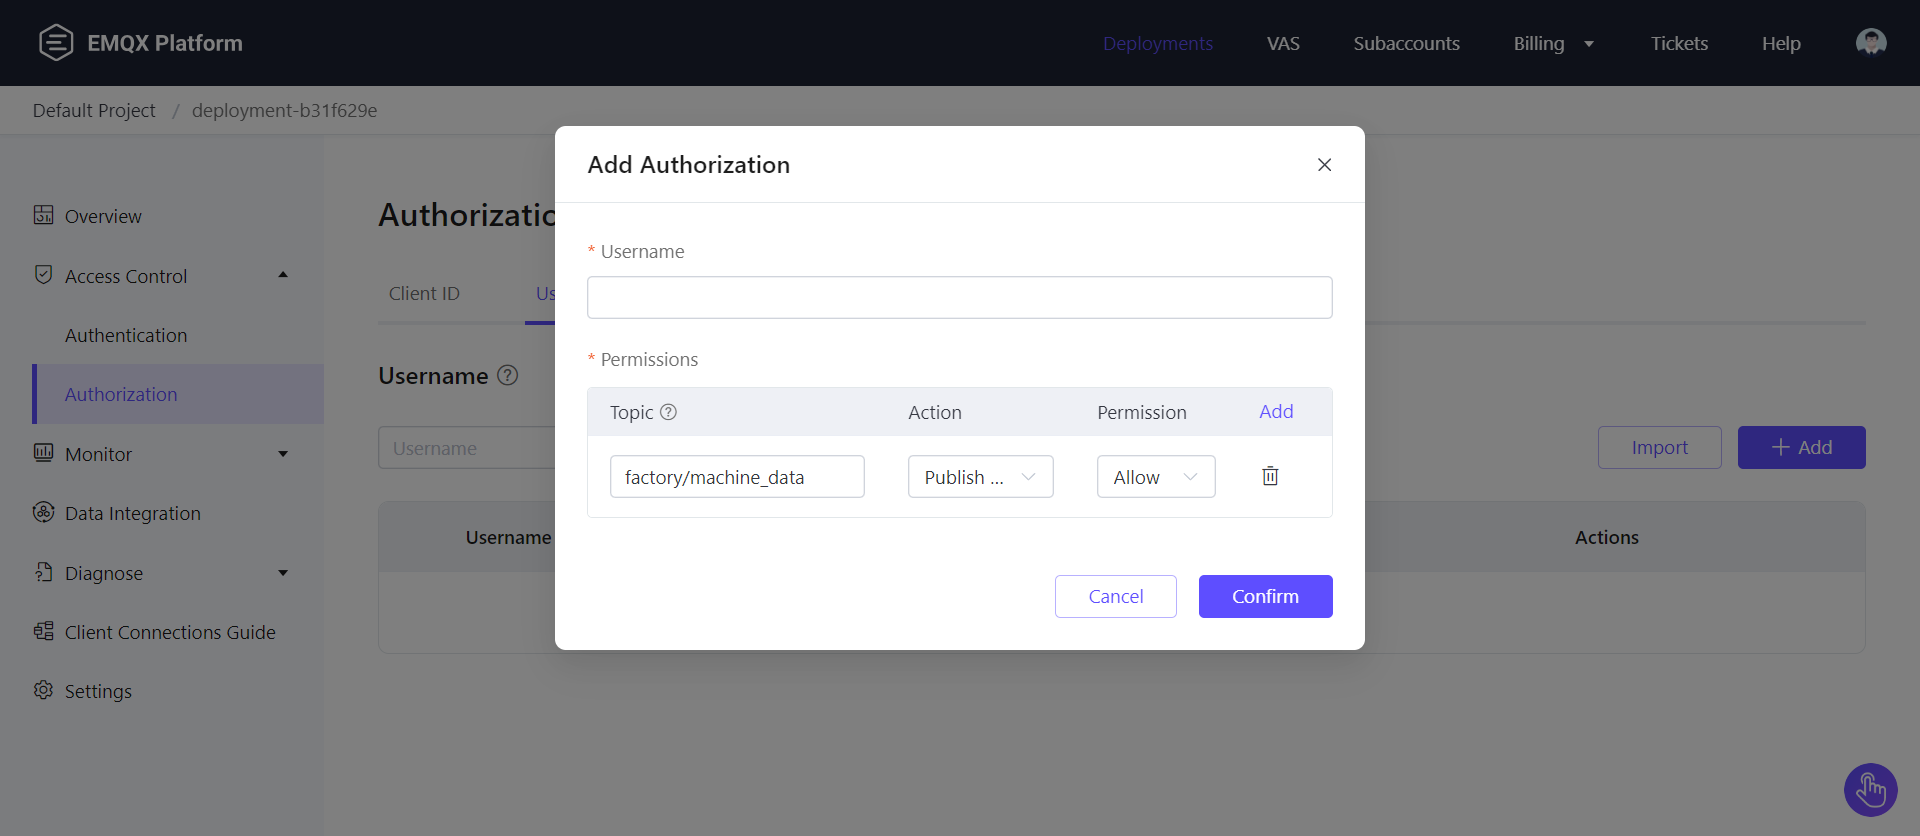
3. Configure authentication and authorization
To secure your broker, configure authentication and authorization. Go to the Access Control -> Authentication page and add a username and password for your clients.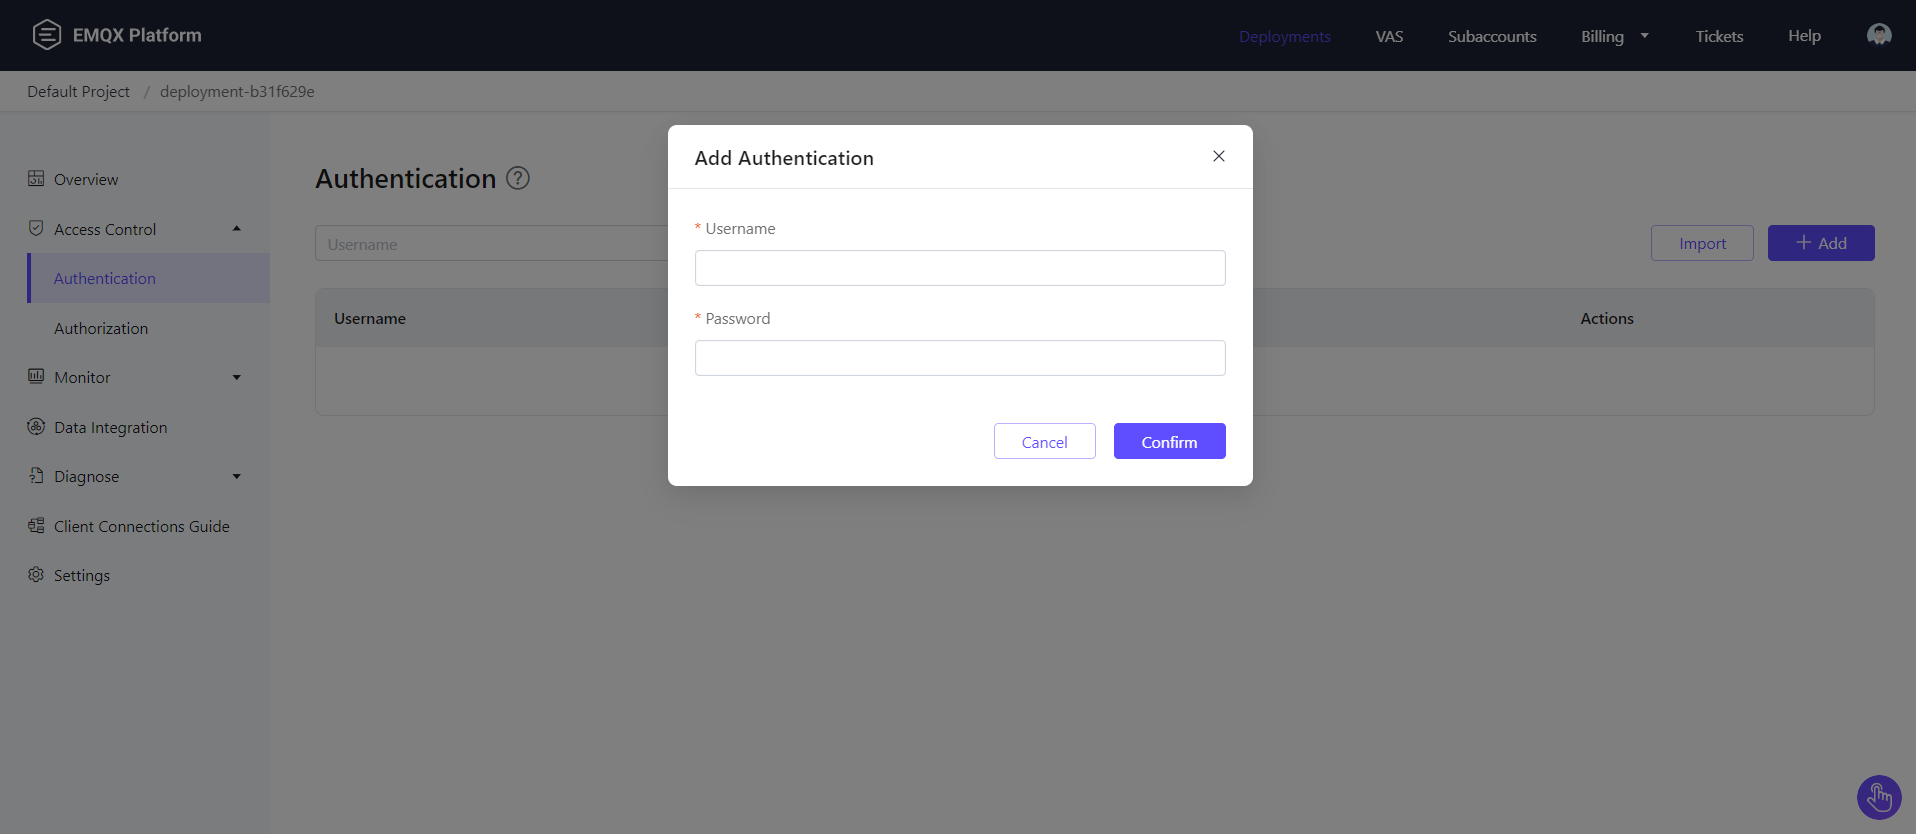
Ingest data from EMQX to RisingWave
1. Create a RisingWave cluster
Set up a RisingWave cluster on RisingWave Cloud using the free plan. Detailed setup instructions are available in the RisingWave Cloud Documentation.2. Create a source in RisingWave
Once your RisingWave cluster is running, create a source to ingest data from the EMQX broker. Use the following SQL query in the RisingWave Workspace:3. Query the source
Once the source is created, you can run queries to retrieve the ingested data. For example: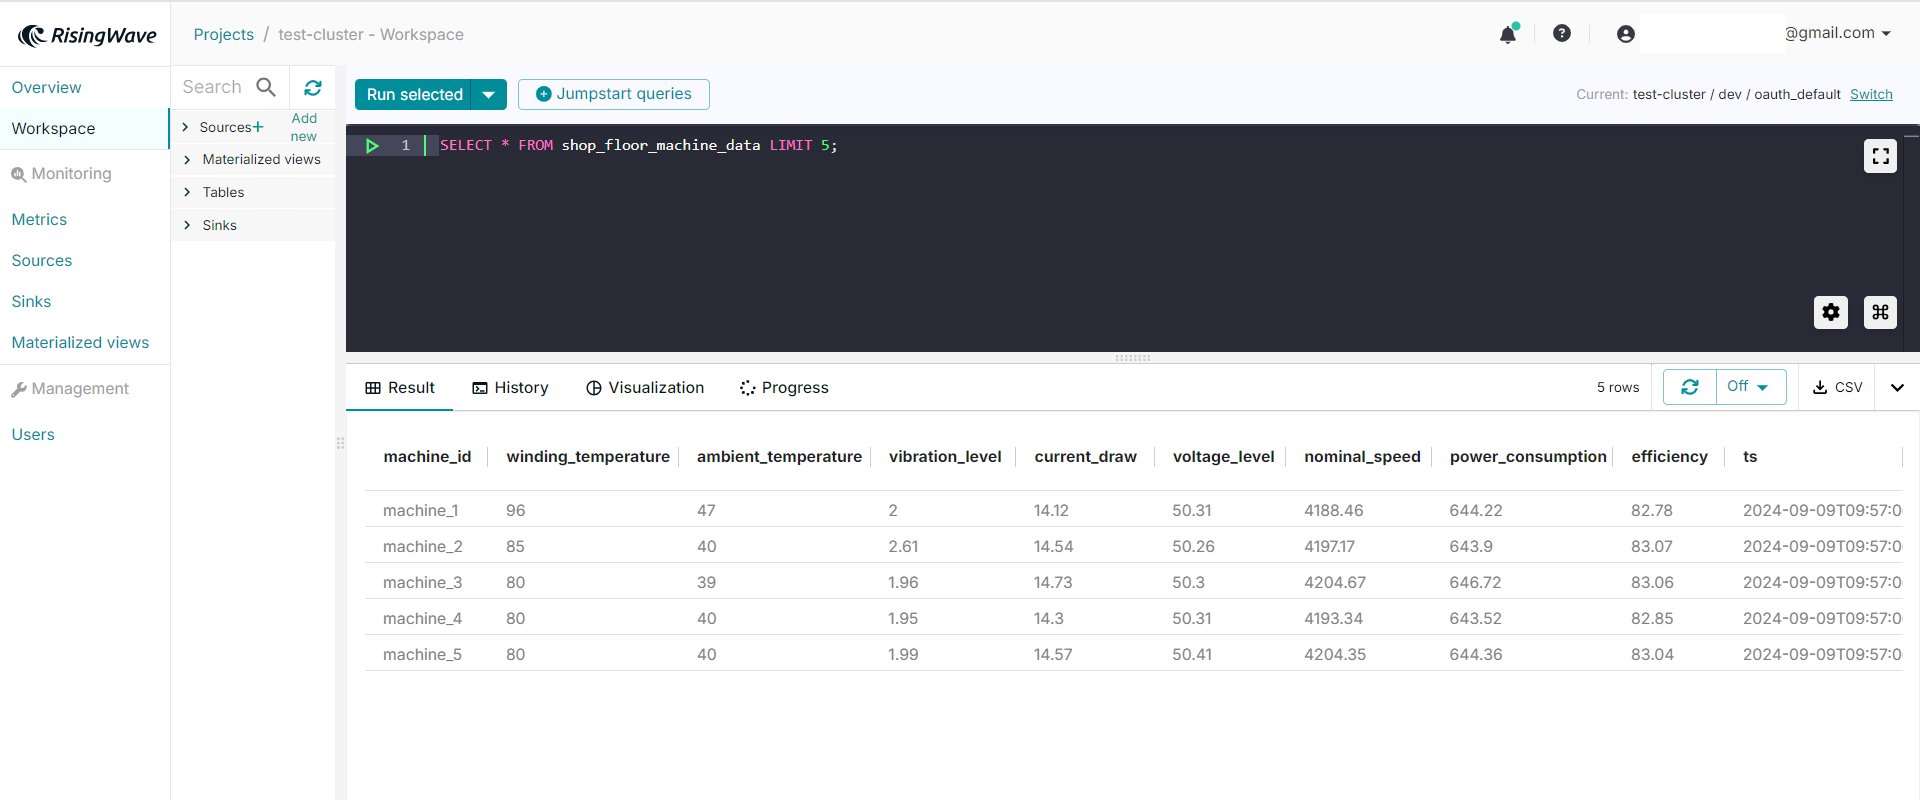
- Set up a free-trial EMQX Cloud broker.
- Connected to the broker using the Python Paho Client to send data to a topic.
- Ingested shop-floor data from EMQX into RisingWave for real-time analytics.