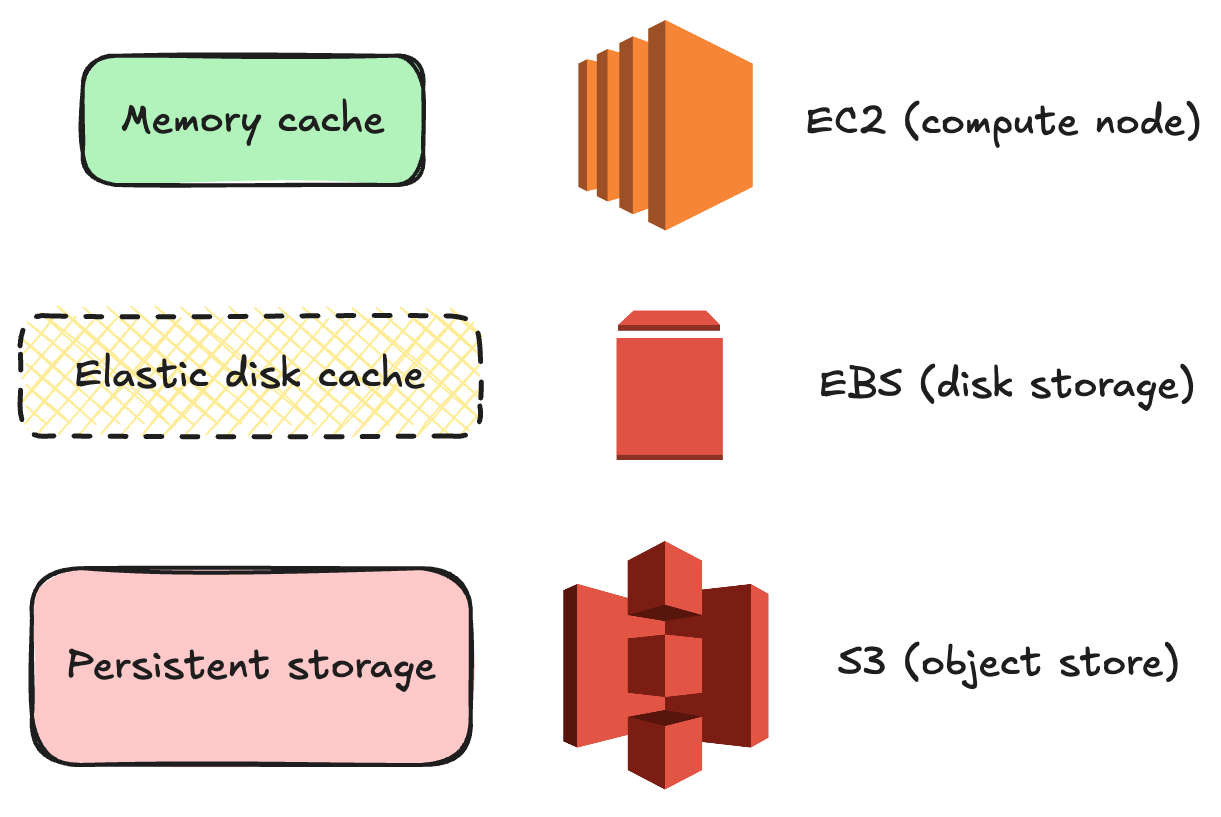
Added in v2.3.0.

Key use cases for elastic disk cache
The elastic disk cache is particularly beneficial for users with performance-sensitive workloads, including:- Large-state queries: Complex streaming jobs involving joins, time windowing, aggregations, and other stateful operations can generate substantial internal state. If this state exceeds the capacity of the local memory cache, performance can degrade significantly without a disk cache.
- Data serving: When querying data from tables or materialized views, RisingWave must fetch data from S3 if it’s not present in the memory cache. This can lead to high latency and increased costs, especially for frequently accessed data. The disk cache significantly reduces this latency.
Benefits of elastic disk cache
- Reduced S3 access & costs: By keeping more data locally available, the disk cache minimizes the frequency and volume of data retrieved from S3, leading to lower costs.
- Improved dynamic scaling: The disk cache dramatically reduces cache warm-up time during scaling operations. New nodes can quickly access data from their local disk cache instead of relying solely on S3.
- Faster failure recovery: Similar to scaling, recovery from failures is significantly accelerated. The system can restore state from the local disk cache, minimizing downtime.
- Enhanced performance in rate-limited environments: In environments with object storage rate limits (common in private clouds), the disk cache reduces reliance on S3, enabling smoother scaling and more consistent performance. “Smoother scaling” means the ability to quickly add Compute Nodes with minimal performance impact during the scaling process, thanks to the reduced reliance on fetching data from a potentially rate-limited object store.
Configuration steps
To enable and configure Elastic Disk Cache on your self-hosted Streaming Nodes:-
Plan cache resources:
- Determine the performance (throughput MB/s, IOPS) of the disk volume intended for caching on each Streaming Node.
- Decide the total disk capacity (MB) and maximum write throughput (MB/s) to allocate for the cache based on available resources and performance benchmarks.
-
Configure Streaming Nodes:
Modify the node-specific configuration file for each Streaming Node where you want to enable the disk cache. Add or update the
[storage]section with settings for the metadata cache (meta_file_cache) and data block cache (data_file_cache). - Restart the Streaming Nodes. Restart the modified Streaming Nodes for the configuration changes to take effect.
Key configuration parameters
dir
Specifies separate, existing directories for the metadata cache (meta_file_cache) and the data block cache (data_file_cache). Use dedicated directories on your chosen cache volume.
capacity_mb
The total size allocated to each cache type (meta and data).
- Split: It’s common practice to allocate roughly 10% of the total desired cache capacity to
meta_file_cacheand 90% todata_file_cache, reflecting typical access patterns. - Volume usage: Aim for the combined
capacity_mbof both caches to utilize around 90% of the total volume capacity dedicated to caching, leaving some headroom.
insert_rate_limit_mb
Controls the maximum disk write speed (in MB/s) used by the cache refill process for each cache type (meta_file_cache and data_file_cache). This prevents caching activity from overwhelming the disk and impacting foreground operations.
- Determine total limit: First, decide the total combined write throughput (MB/s) you want to dedicate exclusively to cache refilling, based on your disk’s benchmarked performance and type (see recommendations below).
- Split limit: Allocate this total limit between the
insert_rate_limit_mbformeta_file_cacheanddata_file_cache(e.g., 10% for meta, 90% for data). - Disk type recommendations (for total cache throughput limit):
- Local SSD (NVMe/SATA): Consider using ~90% of the benchmarked sequential write throughput (e.g., 128K block size).
- Cloud block storage (e.g., AWS EBS gp3, io2): These often have shared limits for read/write IOPS and throughput. Start conservatively by allocating 50%-80% of the provisioned/benchmarked write throughput to the cache refill process. Monitor disk performance and increase the limit if headroom allows without impacting regular read/write operations.
data_refill_levels
An array specifying which SST levels (based on LSM tree structure) should be proactively loaded into the data_file_cache. Typically, this includes all levels from 0 up to the configured max_level (default is 6).
recover_mode
Optional, applicable to both meta_file_cache and data_file_cache.
None(Default): The cache starts empty after a node restart (cold start).Quiet: Attempts to reload existing cache content from disk after a restart. This provides a warm cache, potentially speeding up initial query performance after a restart, but may slightly increase the node’s recovery time (typically by a few seconds).