> ## Documentation Index
> Fetch the complete documentation index at: https://docs.risingwave.com/llms.txt
> Use this file to discover all available pages before exploring further.
# Manage resources
> A resource group is essentially a named pool of specific Compute Nodes (CNs) within your RisingWave project.
You can assign a database to a specific resource group when creating it. Once assigned, all streaming jobs for that database will run only on the Compute Nodes within the designated group.
This mechanism provides two primary benefits:
* **Granular fault isolation:** If a CN within `resource-group-a` crashes, only the databases assigned to `resource-group-a` are affected. Databases in other resource groups remain unaffected.
* **Workload matching & performance optimization:** You can tailor resource allocation to match the specific needs of different workloads.
## Manage resource groups
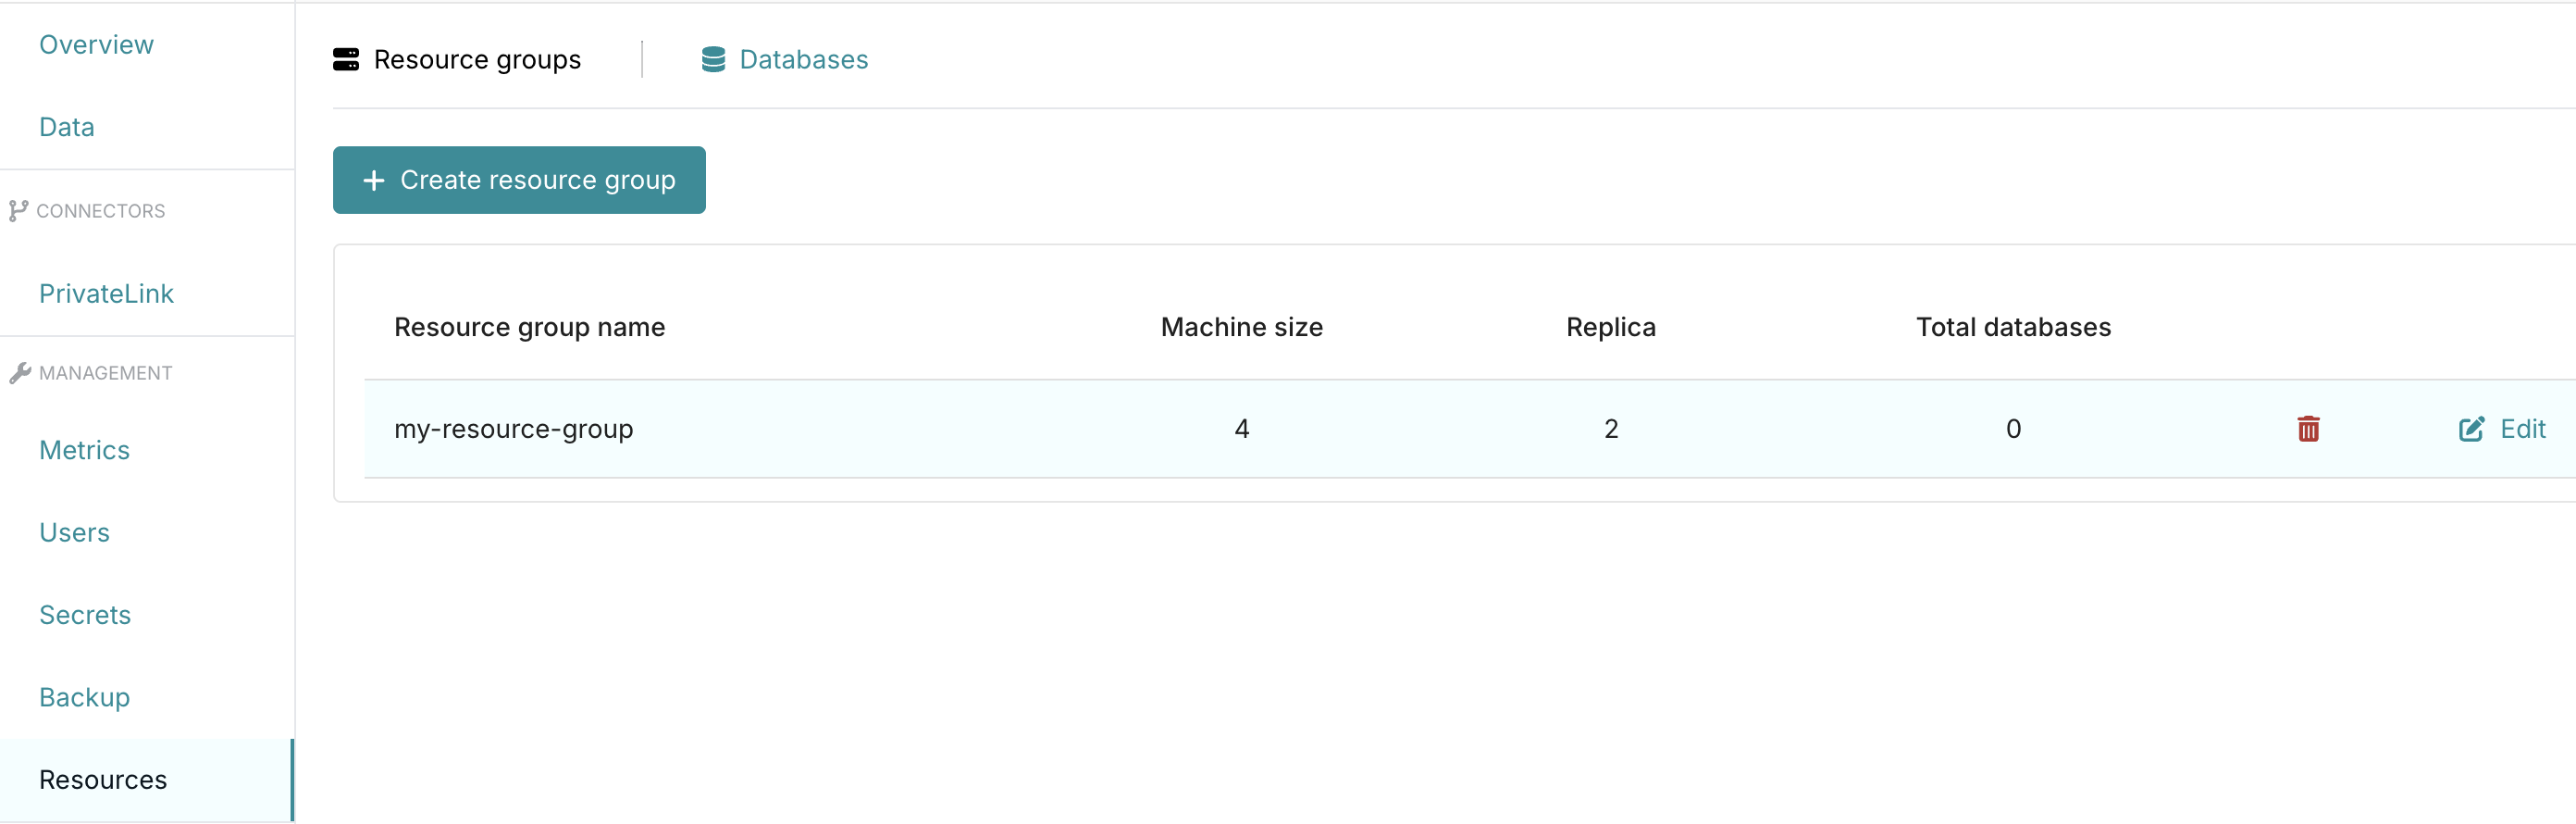
Navigate to the project overview page. Select **Resources** in the sidebar to create new resource groups and manage existing ones.
* To add a new resource group, click **Create resource group** in the top-left corner. Enter the resource group name and select the desired machine size and replica count.
* To access operations for an existing resource group, hover over the desired entry, **Delete** and **Edit** buttons will appear on the right.
 ## Manage databases
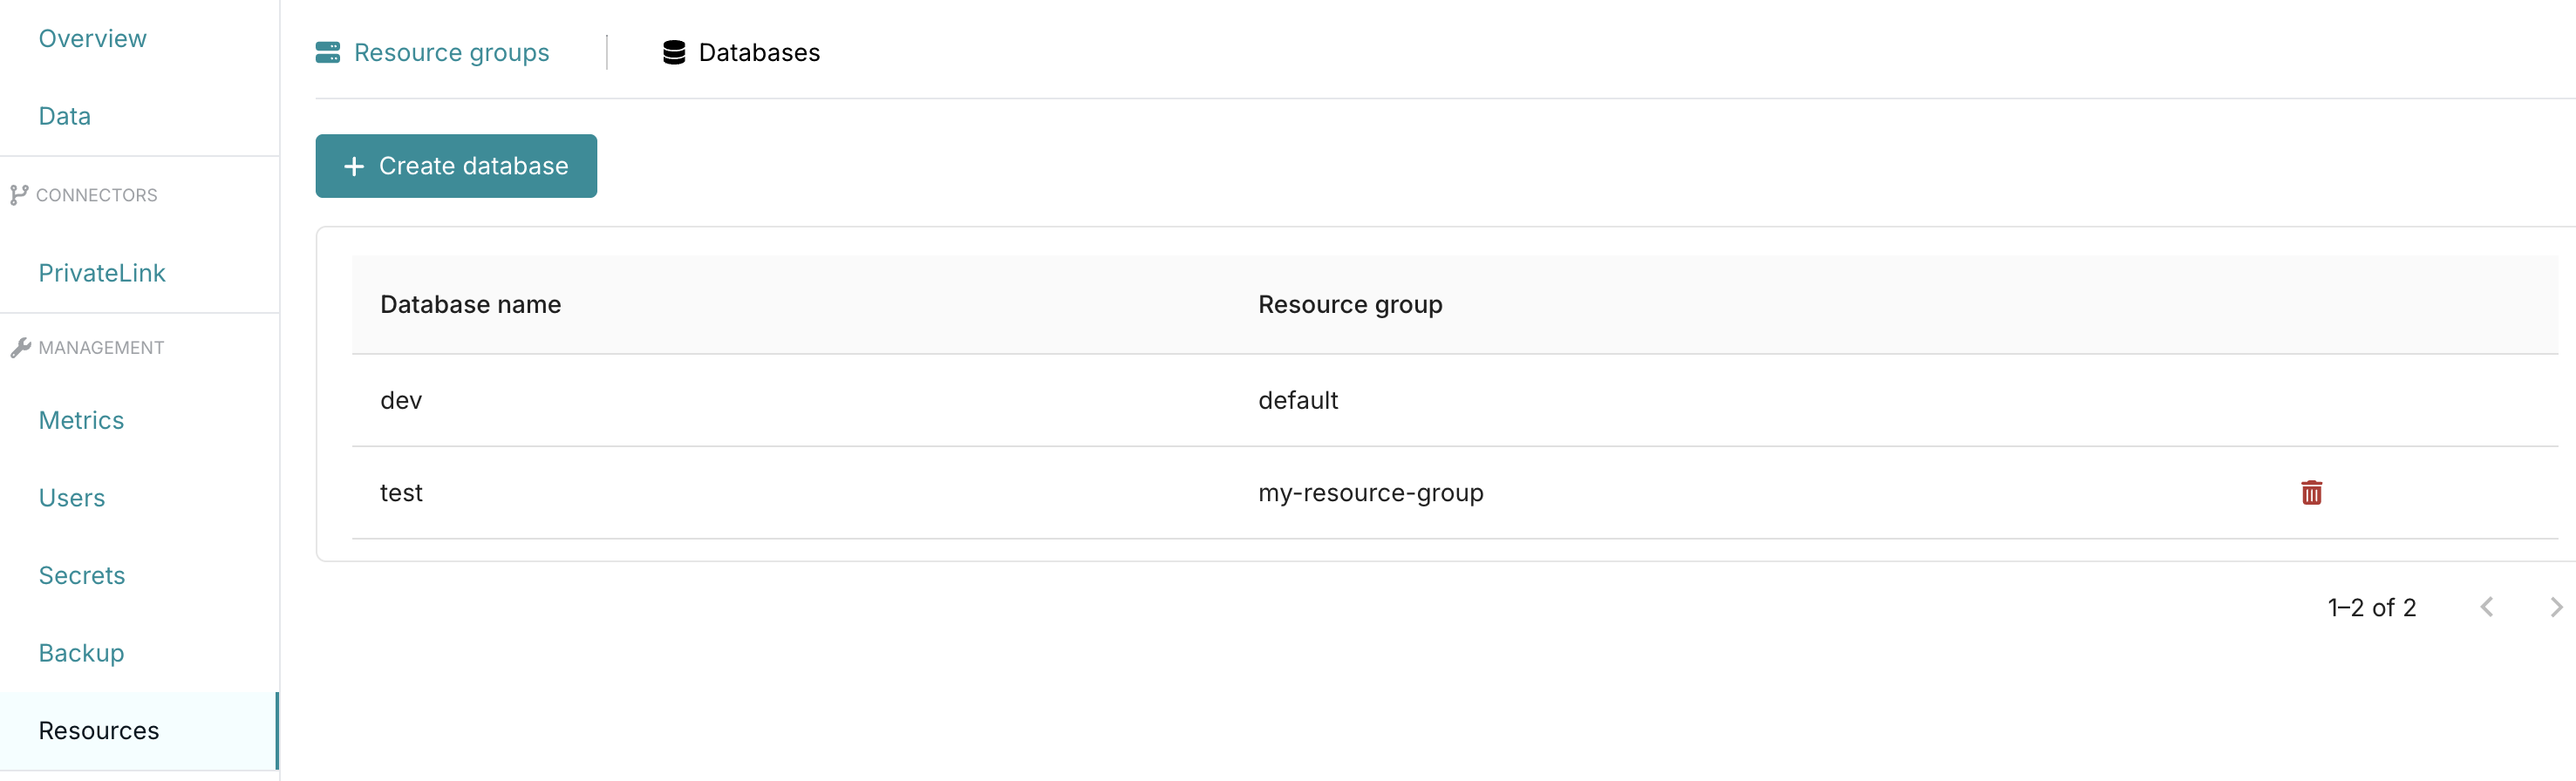
On the same **Resources** page, click **Databases** tab on the top bar to create a new database in a resource group or manage existing databases.
* To create a new database, click the **Create database** in the top-left corner, enter the database name, and select the desired resource group. To create a database on the default Compute Nodes, select the default resource group.
* Hover over a database entry to delete it from its assigned resource group.
## Manage databases
On the same **Resources** page, click **Databases** tab on the top bar to create a new database in a resource group or manage existing databases.
* To create a new database, click the **Create database** in the top-left corner, enter the database name, and select the desired resource group. To create a database on the default Compute Nodes, select the default resource group.
* Hover over a database entry to delete it from its assigned resource group.
 ## Serverless backfilling
The **Resources** page also includes a **Backfilling** section where you can enable and configure serverless backfilling for materialized view backfill jobs. When no backfill jobs are running, there are no backfiller nodes.
## Serverless backfilling
The **Resources** page also includes a **Backfilling** section where you can enable and configure serverless backfilling for materialized view backfill jobs. When no backfill jobs are running, there are no backfiller nodes.
 See [Serverless backfilling](/cloud/serverless-backfilling) for configuration details.
## Serverless compaction
The **Resources** page also includes a **Compactions** section. There, the **Auto-compaction** row enables Serverless Compaction, so that RisingWave Cloud automatically scales compactors based on workload, up to a maximum you set, instead of using a fixed Compactor Node SKU and replica count.
See [Serverless backfilling](/cloud/serverless-backfilling) for configuration details.
## Serverless compaction
The **Resources** page also includes a **Compactions** section. There, the **Auto-compaction** row enables Serverless Compaction, so that RisingWave Cloud automatically scales compactors based on workload, up to a maximum you set, instead of using a fixed Compactor Node SKU and replica count.
 See [Serverless compaction](/cloud/serverless-compaction) for configuration details.